2025Feeding on the Go
From breastmilk to formula to solids: what worked for us on the road
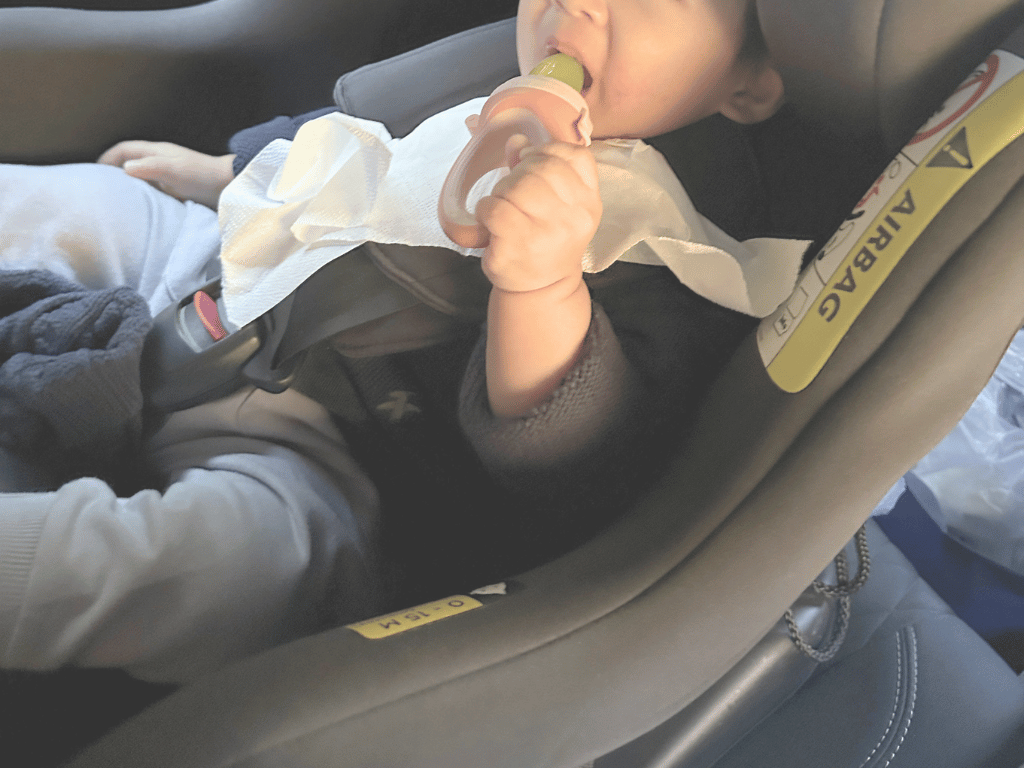
A note before we begin: I pumped exclusively for the first year of our little one's life. No direct latching, so the pumping section reflects that specific experience. From there we moved to formula, and eventually solids. This article covers all three stages, in the order we lived them. The storage and sterilisation practices apply equally regardless of feeding method.
The Reality
Feeding a baby on the road is one of those things that sounds manageable in theory and reveals its full complexity the moment you're in an airport at 6am trying to finish the milk prep before your gate closes.
It means spacing out your own pump schedule around your baby's feed schedule. It means keeping milk warm enough till baby is ready to feed, as well as keeping it cold without a reliable fridge. It involves washing pump parts and bottles in hotel bathrooms that weren't designed for any of this. There is a fair amount of mental gymnastics involved.
But it is manageable with the right gear and a system you've tested enough times to trust. Here's what worked for us.
On The Plane
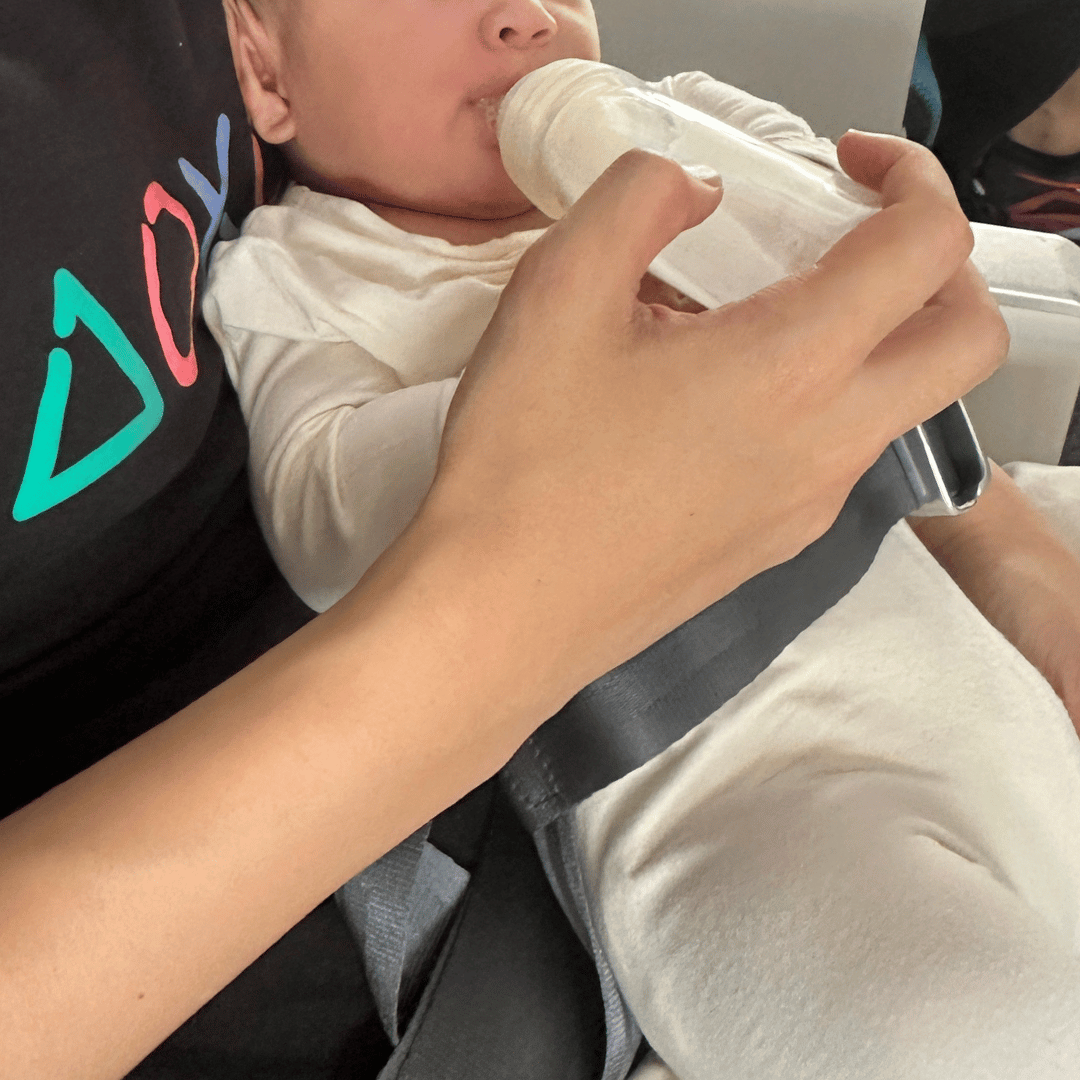
We always feed during take-off — it helps with ear pressure and keeps our little one calm through the transition. If formula feeding, prepare the bottle before boarding so it's ready the moment you need it, rather than juggling hot water and powder mid-boarding chaos.
Once on solids, a light snack or some fruit works well too — something to chew on during the climb.
For more on our in-flight routine, read more notes here.
Pumping on the Go
The Pump: Imani i2 Plus
A hands-free wearable pump was non-negotiable for travel. I used the Imani i2 Plus and chose it over the Imani Pro specifically because of cleaning. The Pro has fewer parts, which sounds like less hassle — but in Singapore's humidity, the inner components are all attached and can't be fully detached for cleaning. For daily use at home and on the road, that becomes a real issue. The i2 Plus can be taken apart and brushed properly, which makes a meaningful difference.
Beyond that: the motor is small and light enough to not add significant weight to your bag, efficient enough for a full pump session, and the cup holds a generous amount per pump. It's also reasonably priced for what it does.
👗 What I Wore
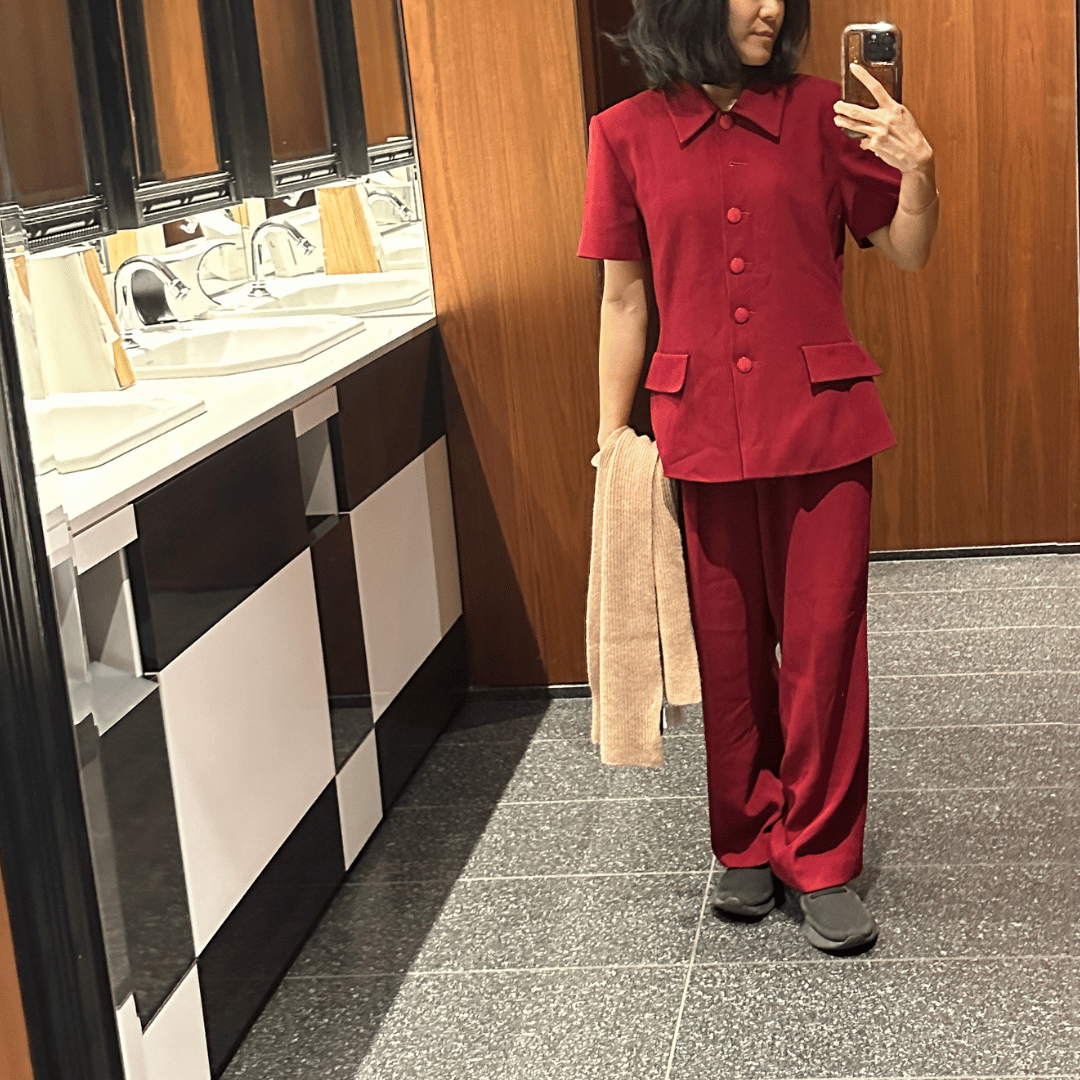
Switching to a wearable pump also meant rethinking my wardrobe for travel. I deliberately wore only button-down shirts or tops with loose necklines, paired with an outer layer or jacket — so the cup could sit discreetly underneath while I went about the day. You don't need a special nursing bra; a regular bra works fine as long as the cup sits comfortably against it. It became second nature quickly, and meant I could pump without needing to find a private space every time.
🕐 My Approach On The Road
I pump one side at a time, which reduces the number of cups I need to bring along. One motor is sufficient — no need to bring a backup, which keeps the weight down.
Pump frequency was every 3 to 4 hours, which I'd space around our little one's feed schedule as best I could. On travel days, I'd pump once before boarding and work around the flight from there.
🧴Washing Pump Parts On The Go
I'm not a fan of washing pump parts mid-outing. Wiping doesn't feel thorough enough, and there are parts that really need a brush and proper cleaning. So my approach: pump once, then swap to a fresh set for the next session. If we were in a cooler climate — indoors in Japan, for example — I'd reuse one set within the 4-hour window before switching. Back at the hotel, everything gets a proper wash.
Milk Storage
The Ceris Chill
For storing expressed milk on the go, I use the Ceris Chill bottle.
It can keep milk cold for at least 24 hours, which covers long-haul travel, unexpected delays, and those days when transit runs longer than planned.
It is bulkier and heavier than a standard bottle — worth acknowledging given how much you're already carrying. But for me, that was a small and conscious compromise for the reliability and peace of mind it offered. I'd rather carry the extra weight than second-guess whether my milk is still good.
This was a deliberate choice over two alternatives we'd considered:
Ice bag in a ziplock — works in theory, but the efficiency is unpredictable. I didn't want to leave something this important to chance.
Hotel mini fridge — convenient in concept, but in practice, not all hotel mini fridges are cold enough for breast milk. And asking the hotel to store milk in their main fridge introduces a different set of variables — response time, availability, whether the service is reliable wherever you happen to be. One less stress point to manage.
Ice is readily available in most hotels, either upon request or as self-service on specific floors. Around 7 large cubes with no more than 1/4 cup of water is sufficient to keep the Ceris Chill working effectively.
Formula on the Go
Keeping Milk Warm
Our little one often finishes his feed in two sittings and dislikes drinking cold milk. It can be a challenge keeping his milk at the right temperature until he’s ready to drink again, especially when you’re on the go. Here are some things we’ve tried:
Nespresso traveller cup with hot water — the simplest method overall. Fill with hot water, sit the bottle in, and let it warm through. The challenge: gauging the right water temperature and how long to leave it can take some getting used to. We keep this in the stroller cup holder while on the move. Straightforward once you have the timing down.
Bottle wrap warmer powered by a power bank — appealing in theory, less practical on the ground. When you're already managing multiple items during a feed, adding a power bank into the mix adds friction rather than removing it. We also found the heating uneven and had to remember which heat mode to toggle between. We stopped using it fairly early on.
Bottle warming pouch — not effective in cold climates or for extended periods, but useful in one specific situation: pre-mixed milk carried onto the flight before take-off, when bags have to be stowed overhead and you need the bottle within reach. It keeps the milk at a usable temperature for that window without the risk of spillage that comes with a cup of water.
Solids on the Go
Once our little one started solids, our approach on the road stayed as close to home as possible. Familiar foods, simple preparations, and minimal surprises for his digestive system.
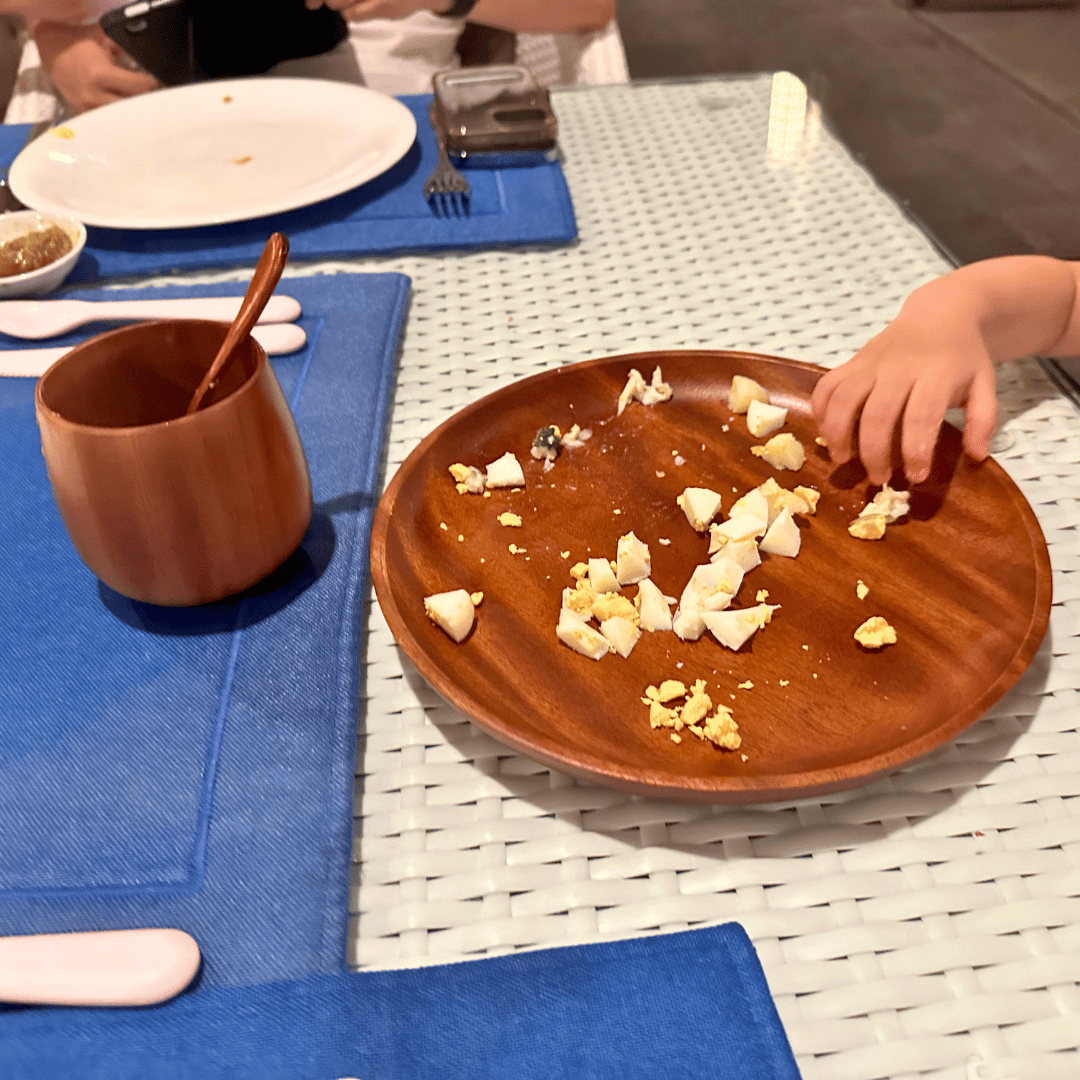
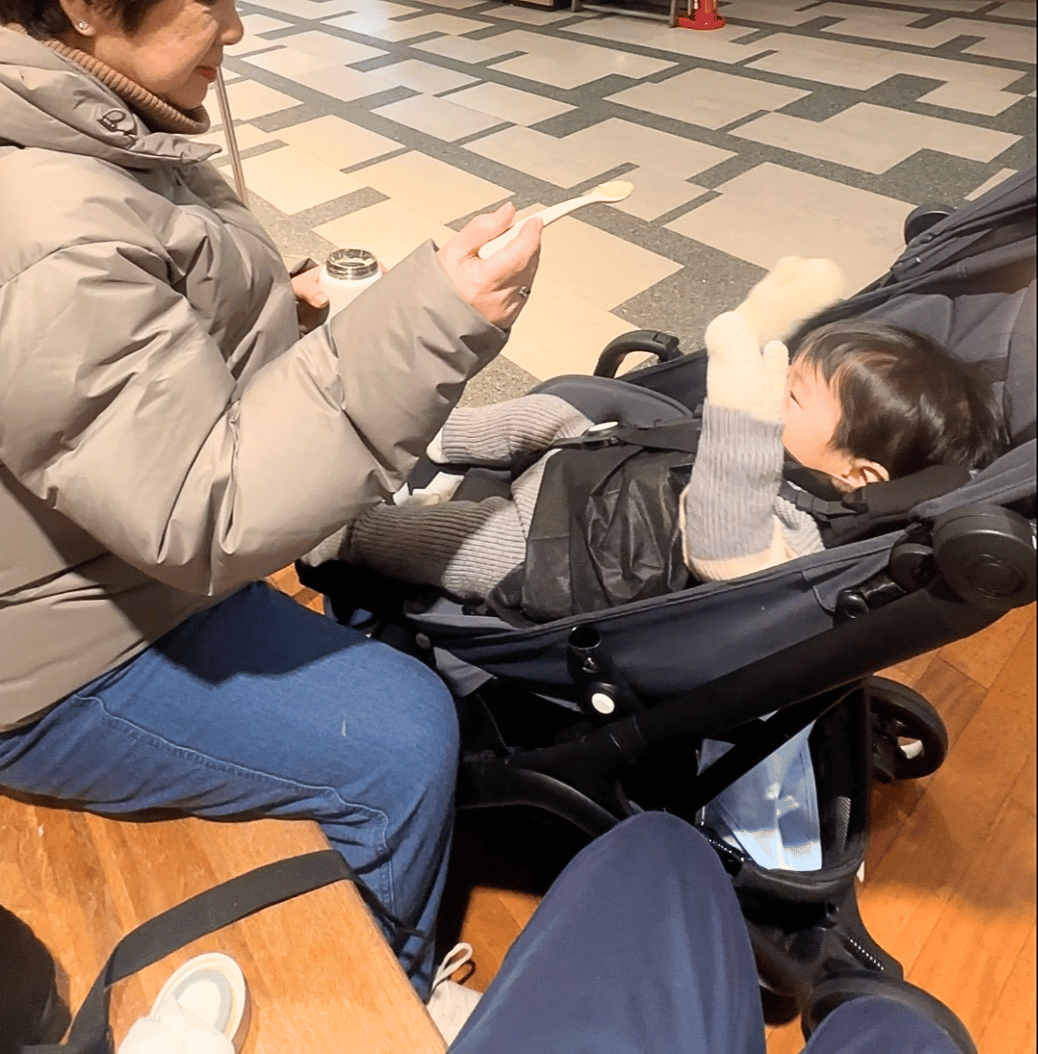
Hotel buffet breakfasts became our foundation. Most mornings we'd prepare his lunch and dinner for the day from whatever was suitable at the spread — plain porridge, steamed fish or salmon (we'd briefly cook sashimi in boiling water to make it suitable for him), soft vegetables like sweet potato, carrot, or broccoli. Packed into a thermal flask, it stayed warm throughout the day and saved us the mental load of figuring out meals on the go.
A small note on meat from hotel buffets: some preparations can be quite salty for a baby. A quick rinse or brief soak in warm water helps reduce the salt content before serving.
For backup, we brought travel-sized rice cereals with empty Hegen containers — simple, familiar, and easy to prepare with just hot water. Ready-to-eat pouches were also useful as a last resort, though those were hit and miss with our little one.
On certain Singapore Airlines flights, a complimentary food pouch is provided for infants — a thoughtful touch, though whether your little one takes to it is another matter entirely.
The feeding setup on the go: Hegen container, spoon, and Zappy food-safe wipes for wiping down surfaces and hands before meals. Simple and contained.
Washing & Sterilising
This is the part that requires the most improvisation, because hotel bathrooms were not designed with washing pump parts or bottles in mind.
The Sink Situation
If we have double sinks: one gets designated entirely for baby items — washing, soaking, everything. The other stays clear for our own use. This is the easiest setup.
If we have just one sink: that single sink does everything — handwashing, toothbrushing, and baby items. It works, but requires a bit more coordination.
🪣 The Container Problem
Washing pump parts and bottles properly requires soaking, and soaking requires a container. This is not something you can easily improvise in a hotel room, so we bring one along specifically for this purpose.
I've tried two options, in order:
Large silicone pouch (2L) — this is where we started, and for good reason. Early on, the volume of items needing washing was high; pump parts and bottles together, so a larger soaking vessel made sense. The silicone pouch is flat and malleable, which makes it easier to fit into luggage than you'd expect. The one we used first was large enough to soak everything in one round, which saved time. However the sides can be unstable without support, so putting it in a designated corner along with a third support point (like your toiletries bag) would keep it steady.
Collapsible bucket — as our little one grew and the washing load reduced (no pump parts, fewer bottles per session), a smaller vessel became a feasible option. The collapsible bucket works well for this stage. Less to wash means less soaking volume needed. The trade-off is that the rigid frame makes it bulkier in the bag than the silicone pouch despite its smaller size.
The broader point: your container needs will change as your baby grows and your pump routine simplifies. Start bigger, scale down when the load allows.
🚿 Sterilisation
We use Pigeon sterilisation tablets — one tablet per 24-hour window with 2.3 litres of cold water. The process: wash everything first, then soak in the tablet solution for 30 minutes. No rinsing needed within that 24-hour window. Whatever's been washed goes straight in, comes out ready to use.
This is considerably more practical on the road than boiling water, which requires multiple rounds if not everything is ready to go at the same time, and risks scalding if you're working in a small hotel kettle. The tablets remove that variable entirely.
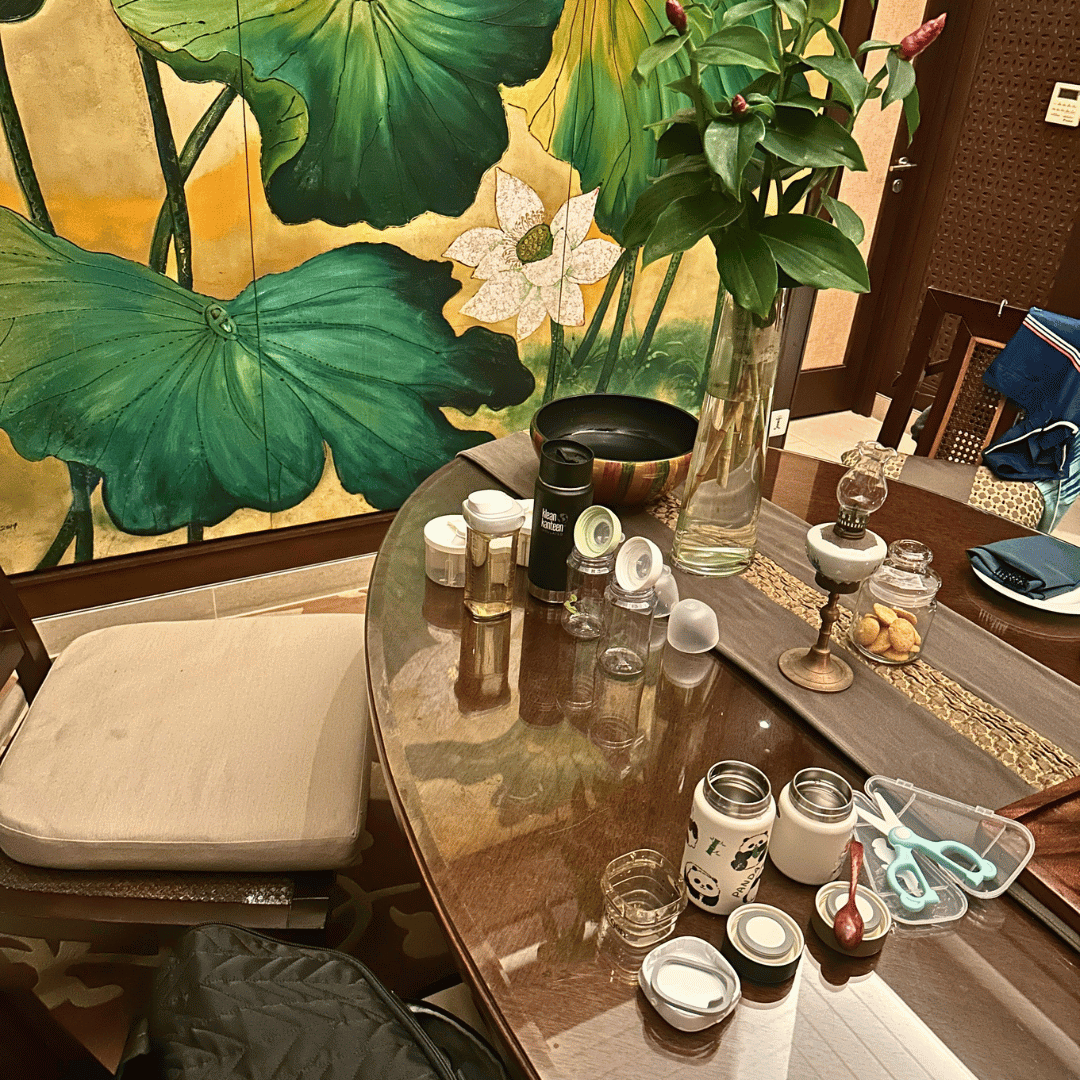
The Night Routine
Once our little one was asleep, the work wasn't done. There was always at least another hour more, and doing it well the night before made the next morning considerably smoother.
Our end-of-day routine:
Wash and sterilise bottles, pump parts, feeding utensils
Refill the milk powder container for the next day
Line up everything needed for the morning. Bottle, formula, hot water flask, solids if applicable for breakfast.
Lay out his clothes for the next day
Check the bag is packed and ready
Having everything prepared and visible meant less scrambling in the morning when a baby who's already awake and hungry doesn't want to wait.
Emergency Medications
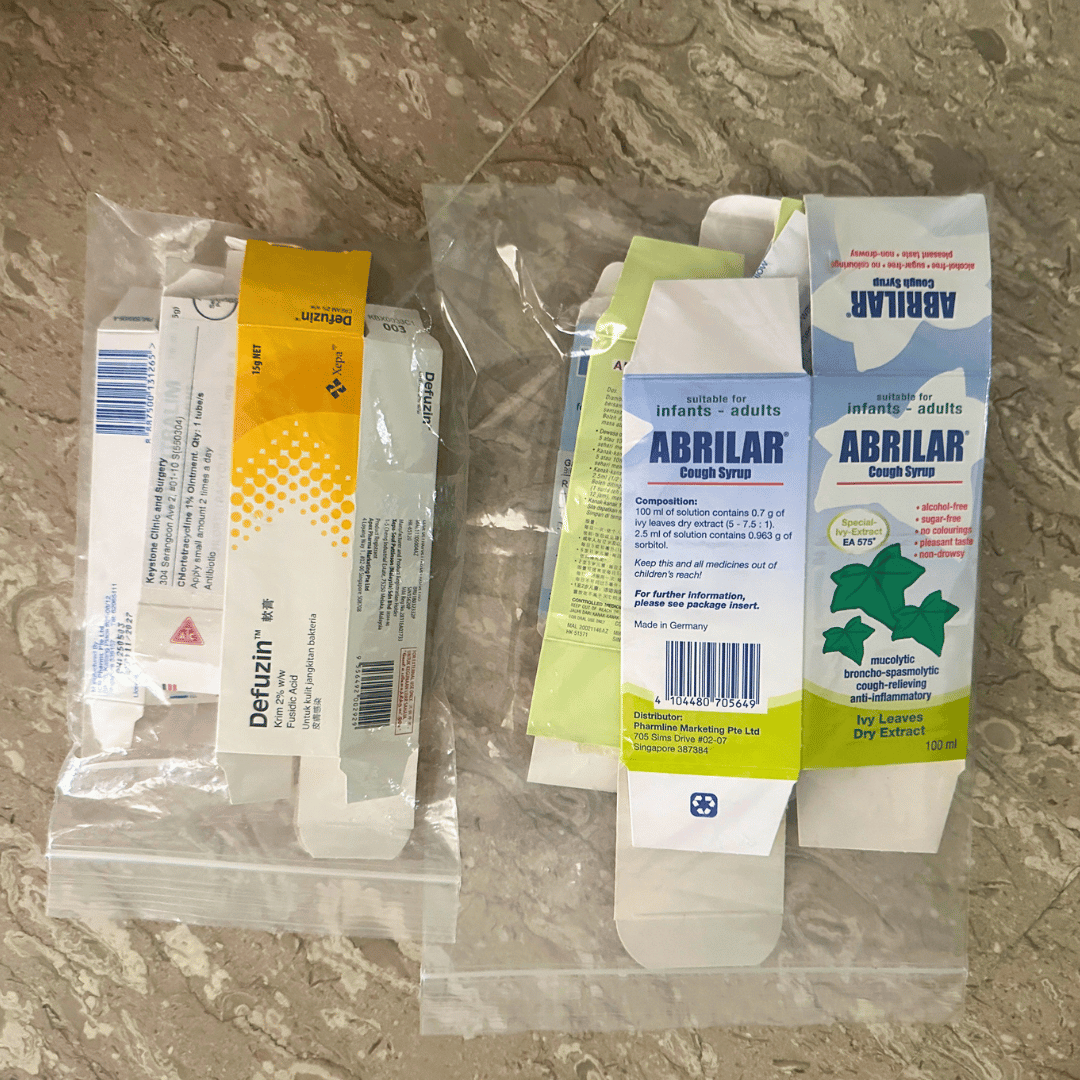
We travel with a small kit of emergency medications for our little one. Fever medication, antihistamines, and anything prescribed by our paediatrician. We pack them in ziplocks and use the room fridge for storage where available, or in a small cooler bag if not.
Before booking your accomodations, it's worth checking whether your room has a fridge, particularly if your little one is on any regular or as-needed medication that requires refrigeration.
No system is perfect, and what works depends on your own routine. But the through-line across all of it is reducing uncertainty and choosing gear and methods that perform consistently rather than ones that might work depending on the hotel, the climate, or the day.
A Final Note
No system is perfect, and what works depends on your feeding method, your baby's schedule, and the kind of travel you're doing. But the through-line across all of it is reducing uncertainty. Choosing gear and methods that perform consistently rather than ones that might work depending on the hotel, the climate, or the day.